Step-by-Step Guide to Install Windows-Server 2016 on Physical or Virtuelle Maschine.
1. Herunterladen Windows-Server *.iso and burn it to DVD or Flash (or external HDD, yeah it’s work)!
2. Start up your machine, go to BIOS (F2 or Del on your keyboard). Carefully config all options for the best productivity of your machine. When you config all options, geh zu BOOT section and set your device with Windows-Server als First Boot;
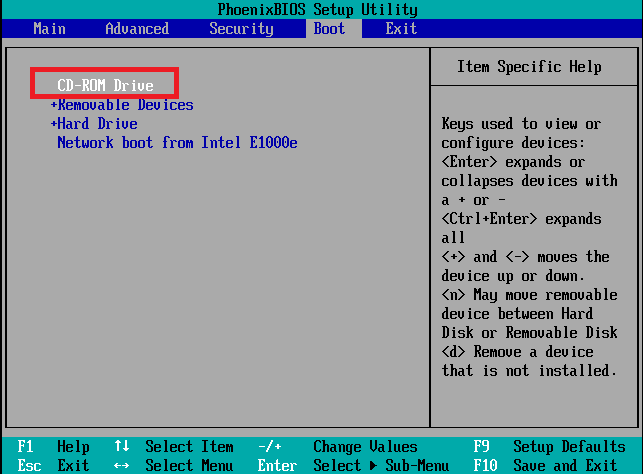
3. Find options like Exit Saving Changes or press F10 button and choose “Yes”;

4. After reboot machine will show you next;
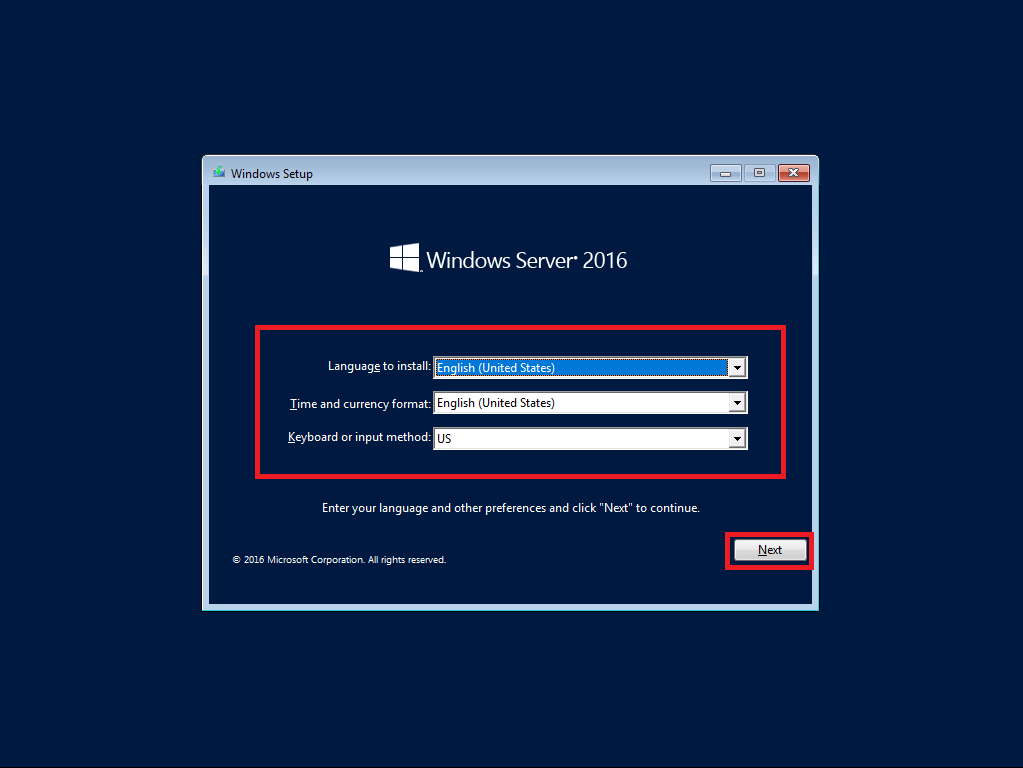
5. Config all options, as you need, und klicken Nächste Taste;
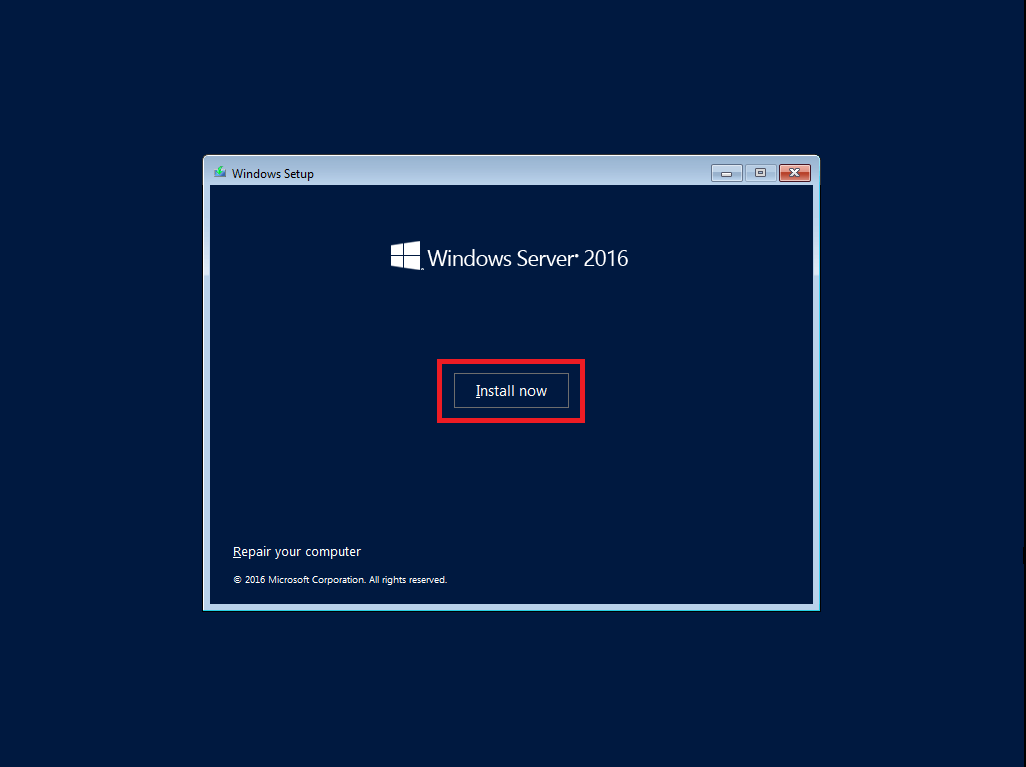
6. In the next screen click Install now Taste;
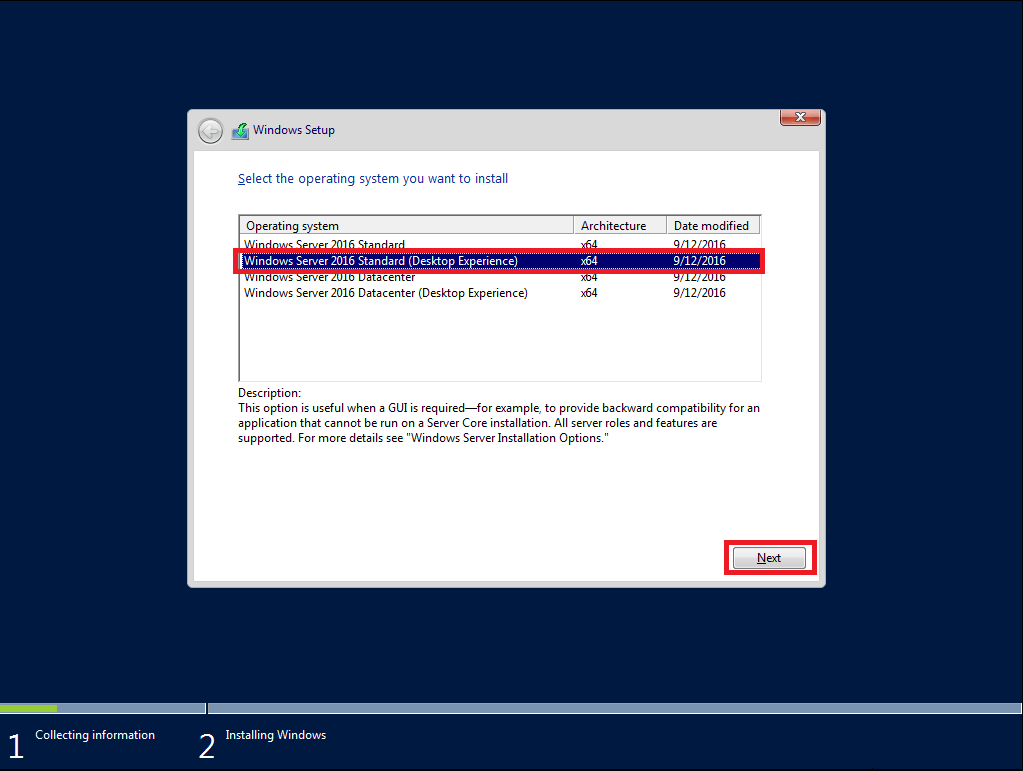
7. As next step you must select the needed version and click Nächste Taste;
You may choose next versions from one distributive: Standard or Datacenter (in core or with GUI both);
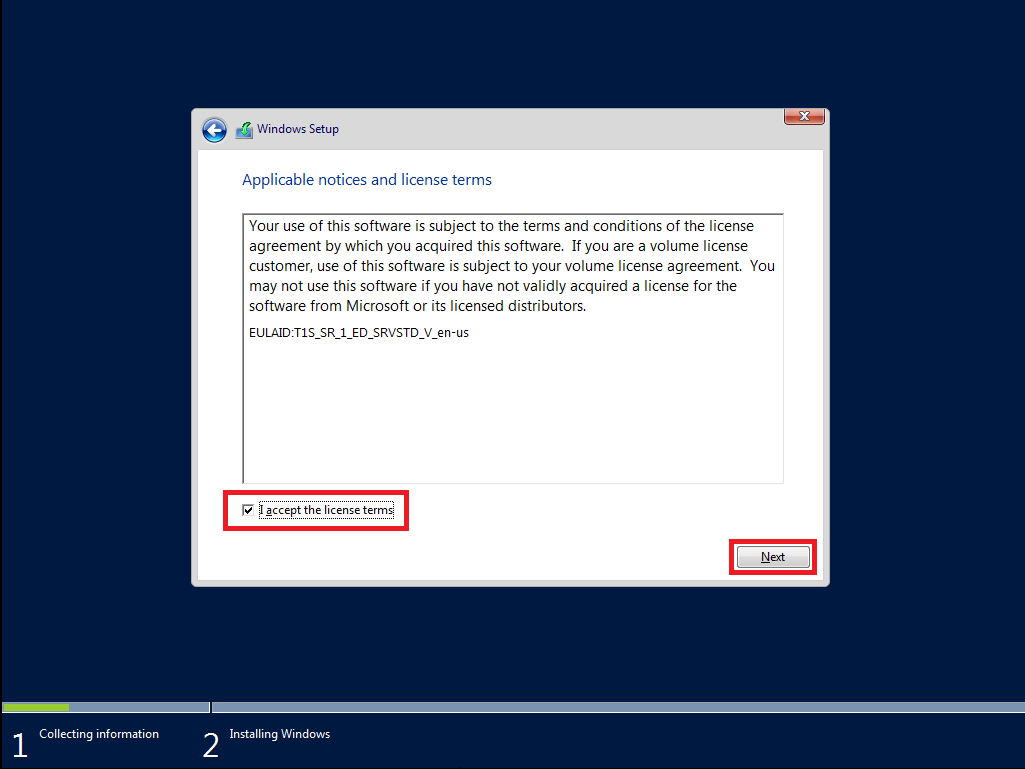
8. At next screen accept license terms and click Nächste Taste;
9. We make clean install, so we choose second option Brauch: Installieren Windows nur (advanced);

10. Select Drive for installation and click Nächste Taste;
If you use an old RAID adapter and don’t see any drives – herunterladen drives for it, place on a flash disk and insert. Nächste, click Load driver and choose the right folder.

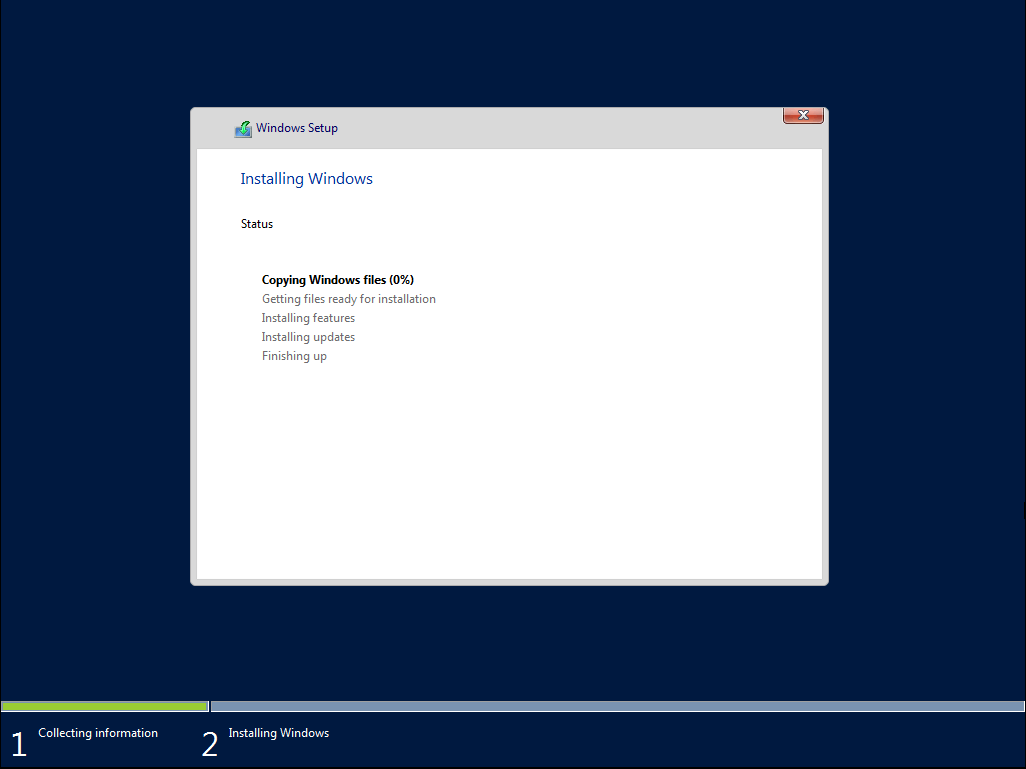
11. Die Installation beginnt;
12. When finished – system restart;
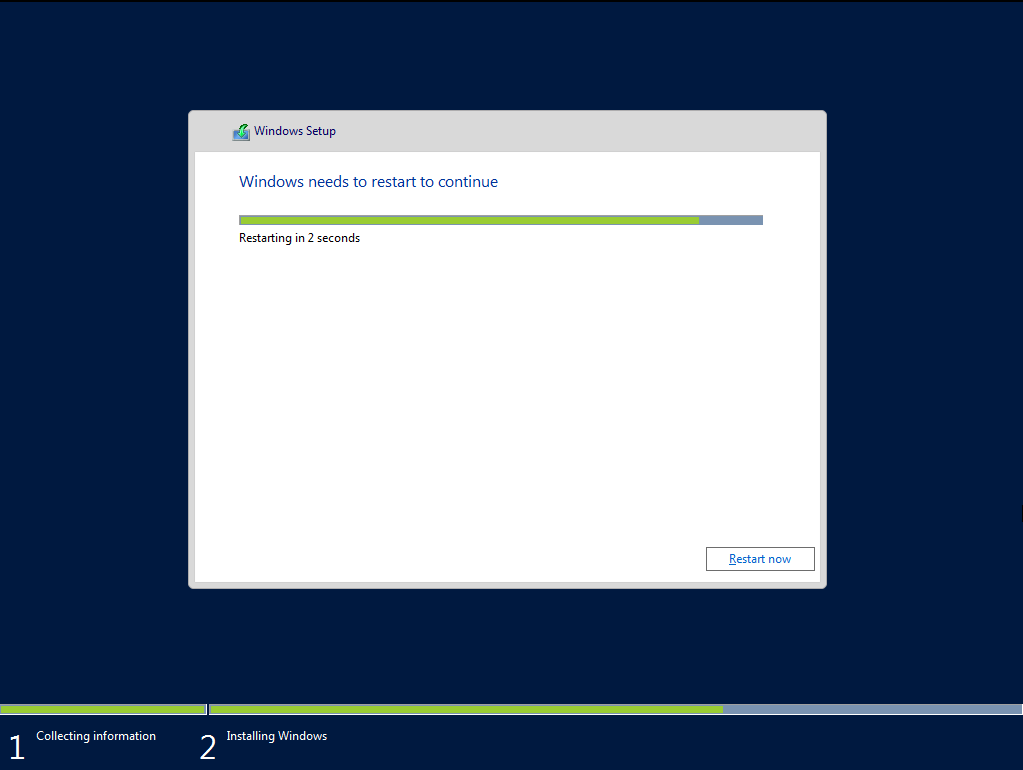
13. You may see this message, don’t touch anything and wait;

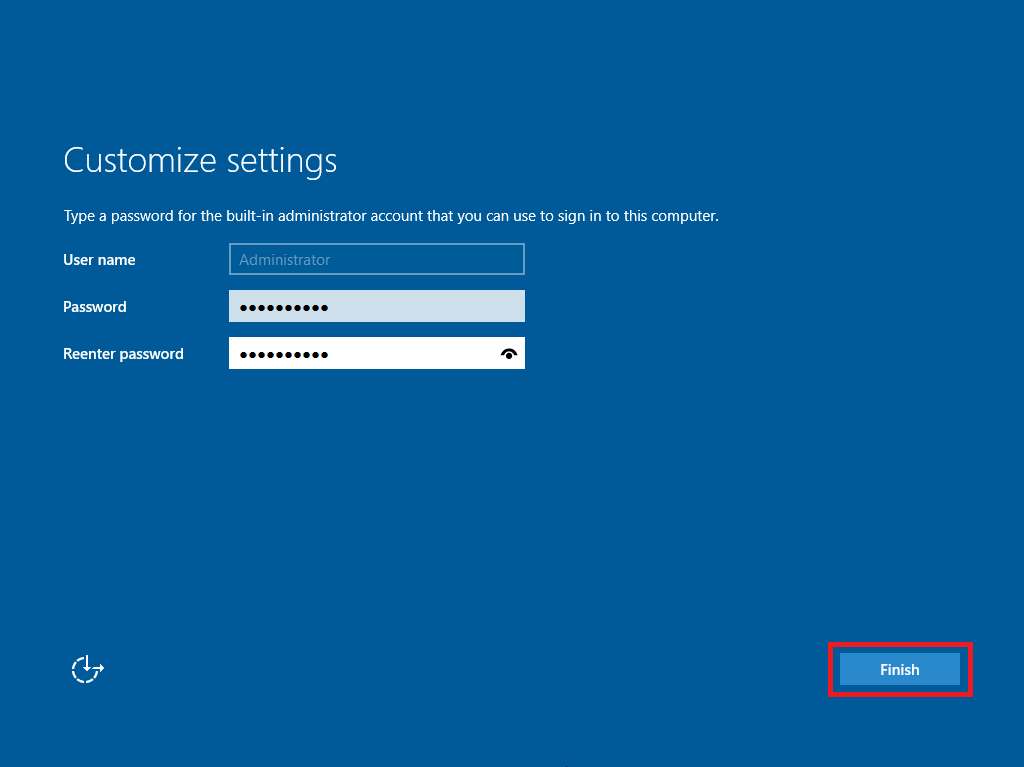
14. Eingeben Passwort (STARK PASSWORD) und klicken Beenden Taste;
15. Drücken CTRL+ALT+DELETE (mouse click or keyboard don’t work);
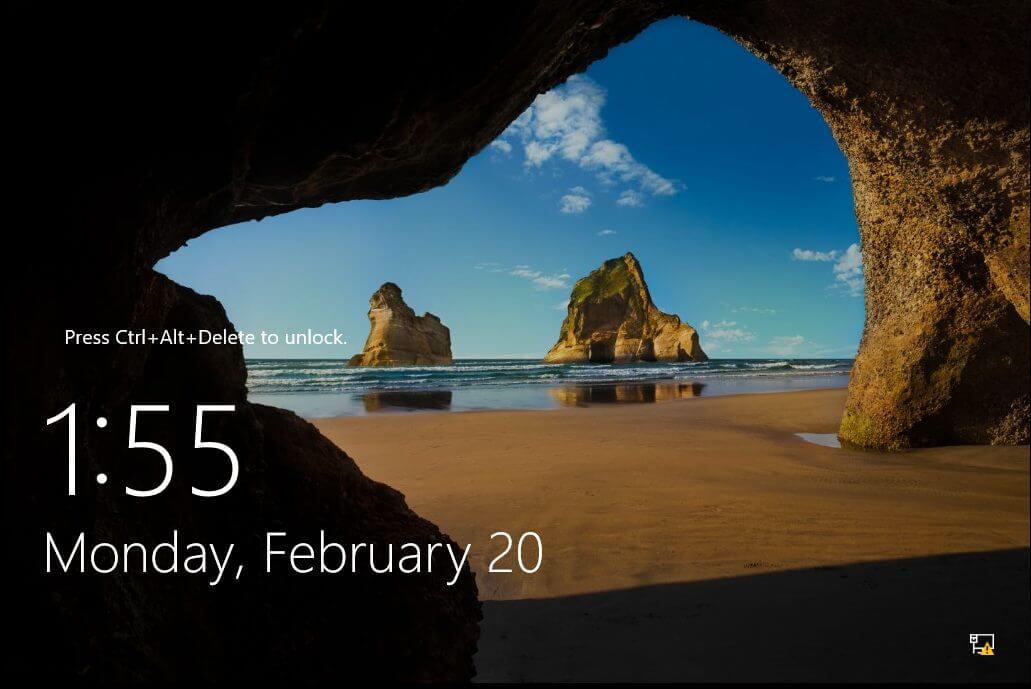
16. Geben Sie Ihre ein Passwort and login-in;

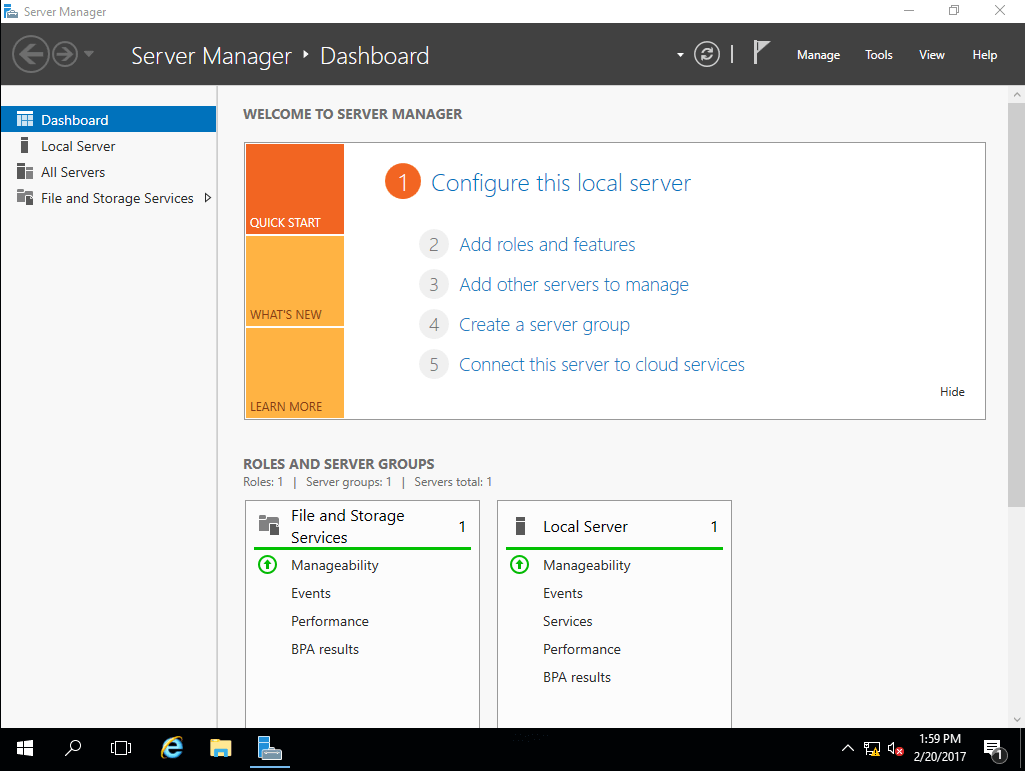
17. The system is installed!
18. Don’t forget reboot, go to BIOS and change back Hard Drive as first boot.


")


