Prin utilizarea acestui site, sunteți de acord cu Politica de confidențialitate.
Accepta
EnterineEnterineEnterine
  • ACASĂ
  • Pro
  • Tehnologie
  • Microsoft
    • Azur
    • ConfigMgr/SCCM
    • Dpm
    • Orchestrator
    • Hyper-V
    • Microsoft Edge Insider
    • MSI
    • Birou 365
    • Office Insider
    • Putere bi
    • Skype
    • Server SQL
    • Echipe
  • Ferestre
    • Centrul de administrare Windows
    • Client Windows
    • Windows Server
  • Lista de colecție de interogări SCCM
Lectură: How to Deploy Adobe Acrobat Reader DC using Configuration Manager
Redimensionare fontAa
EnterineEnterine
Redimensionare fontAa
  • ACASĂ
  • Pro
  • Tehnologie
  • Microsoft
  • Ferestre
  • Lista de colecție de interogări SCCM
Căutare
  • ACASĂ
  • Pro
  • Tehnologie
  • Microsoft
    • Azur
    • ConfigMgr/SCCM
    • Dpm
    • Orchestrator
    • Hyper-V
    • Microsoft Edge Insider
    • MSI
    • Birou 365
    • Office Insider
    • Putere bi
    • Skype
    • Server SQL
    • Echipe
  • Ferestre
    • Centrul de administrare Windows
    • Client Windows
    • Windows Server
  • Lista de colecție de interogări SCCM
Configmgr

How to Deploy Adobe Acrobat Reader DC using Configuration Manager

Publicat: February 11, 2024
3 Min Citește
Cota

How to Deploy Adobe Acrobat Reader DC using Configuration Manager.

1. First you need to download the Adobe Acrobat Reader DC Enterprise:

  • Select an Operating system
  • Select a language
  • Select a version

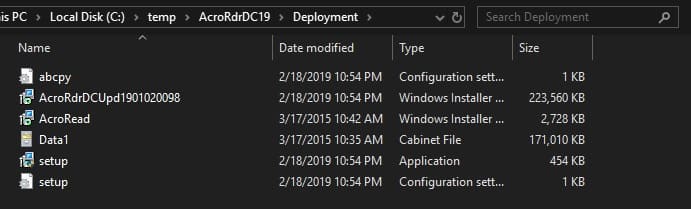
2. After you have downloaded the installer you can extract the .exe files (using elevated PowerShell) so you can access the .MSI file;

The parameters are:

-sfx_ne : Do not execute any file after installation (overrides the -e switch) This switch should be used if user only wants to extract the installer contents and not run the installer.
-sfx_o : Specifies the name of folder where the expanded package is placed. The folder name should be enclosed in quotation marks. It is best if you do not use an existing folder.
-sfx_nu : Silently extracts the installation files from the EXE.

.\AcroRdrDC1901020098_en_US.exe -sfx_o"C:\temp\AcroRdrDC19\Deployment" -sfx_ne

NOTE: This doesn’t work with the web installer.

3. After you have extracted the installer and have access to the .MSI file then you can create a .MST file with the Acrobat Customization Wizard DC;

4. Start the Acrobat Customization Wizard DC;

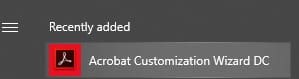
5. Click Open Package and point to the .MSI file;

Then you can start using the Wizard to customize the installation

6. Under Personalization Options

  • Click Suppress display of End User License Agreement (EULA)

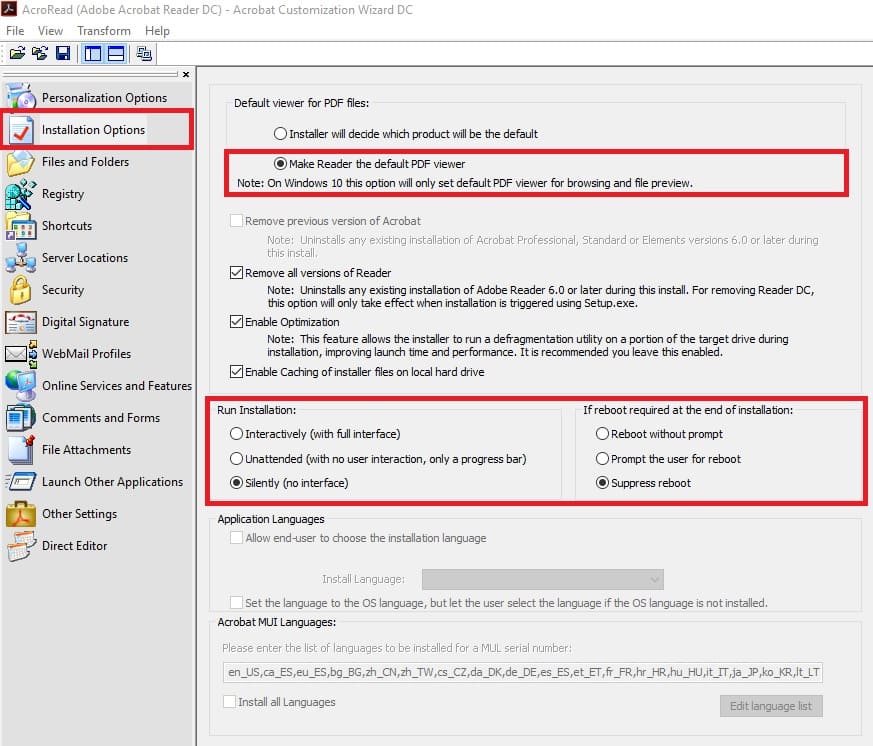
7. Under Install Options

  • Click Make Reader the default PDF viewer
  • Click Silently (no interface)
  • Click Suppress reboot

8. Under Shortcuts

  • Click Remove the Adobe shortcuts on Desktop

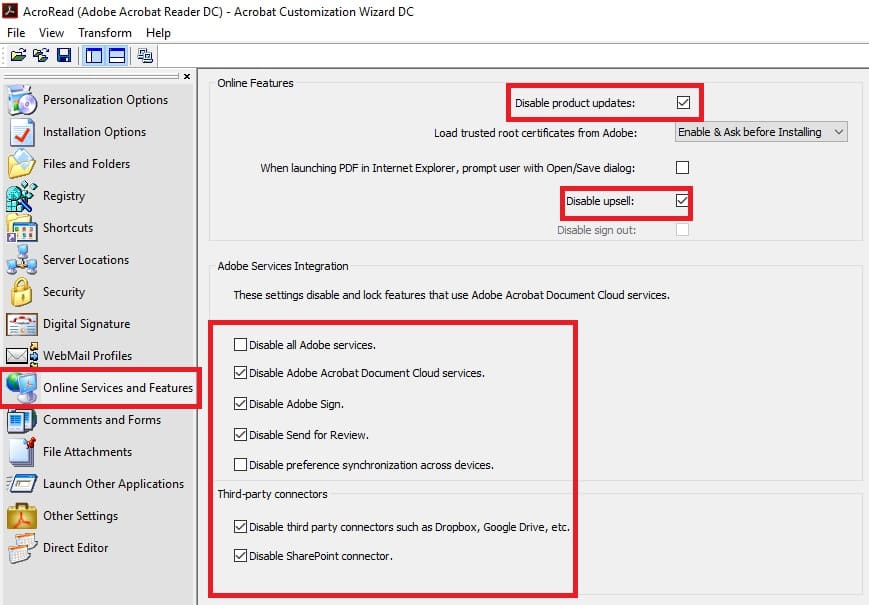
9. Under Online Services and Features

  • Disable upsell
  • Disable Adobe Acrobat Document Cloud Services
  • Disable Adobe Sign
  • Disable Send for Review
  • Disable third-party connections such as Dropbox, Google Drive, etc.
  • Disable Sharepoint connector
  • Set Disable product updates as you need

10. Save Package

11. Then you are ready to deploy Adobe Reader DC with your favorite deployment tool by running the Setup.exe (without any keys, we already set Silently (no interface)).

P. S. For SCCM deployments set Uninstall option:

Uninstall Program:

msiexec /x {AC76BA86-7AD7-1058-7B44-AC0F074E4100} /qn

Uninstall start in:

C:\Program Files (x86)\Adobe\Acrobat Reader DC
Etichetat:Centru de sistemManager de configurare System CenterWindowsWindows 10
Articolul precedent SCCM Power BI Dashboard Install And Configure (Express)
Articolul următor Whiteboard in Teams meetings integration, ink grab and more
3 Comments 3 Comments
  • James says:
    June 18, 2020 at 9:11 am

    great, thank you

    Reply
  • Edward says:
    September 24, 2020 at 6:29 am

    Hi! Any reason why you used the setup.exe instead of the MSI for the SCCM deployment?

    Reply
    • Andrej Prijmak says:
      September 24, 2020 at 6:35 am

      Hi. The only reason, why I used setup.exe – because it works as I need. You can try with MSI and write the result.

      Reply

Lasă un răspuns Anulează răspunsul

Adresa ta de e-mail nu va fi publicată. Câmpurile obligatorii sunt marcate *

Acest site folosește Akismet pentru a reduce spamul. Aflați cum sunt procesate datele comentariilor dvs.

Traducere

English中文(简体)DanskNederlandsFrançaisDeutschItaliano한국어PolskiPortuguêsRomânăEspañolУкраїнська
de Transposh - translation plugin for wordpress

Postări populare

Cerințe de sistem pentru Windows Server 2016
Windows Server
Lista de colecție de interogări din Configuration Manager
Configmgr
Navigarea structurată/gestionată este activată în paginile moderne din site-urile clasice ale echipelor
Teh
SCCM nu s-a obținut locațiile DP ca versiune așteptată de la MP
Configmgr

Postări recente

Instalarea și configurarea Fail2ban pentru protecție SSH pe Ubuntu 24.04
Linux
Activarea și configurarea FirewallD pe AlmaLinux
Linux
Crearea utilizatorilor și configurarea cheii SSH în AlmaLinux
Linux
Cum să resetați parola pe AlmaLinux
Linux

© 2023 Enterine

Accesați versiunea mobilă
Bine ai revenit!

Conectați-vă la contul dvs

Nume de utilizator sau adresă de e-mail
Parolă

Ți-ai pierdut parola?