
창 10 Hyper-V VM 설정. In this post, we talk about settings that exist in Windows 10 Hyper-V 관리자.
Hardware
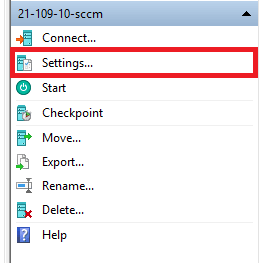
1. Run your Hyper-V Manager, select “Virtual Machine” (VM) and click “Settings“;
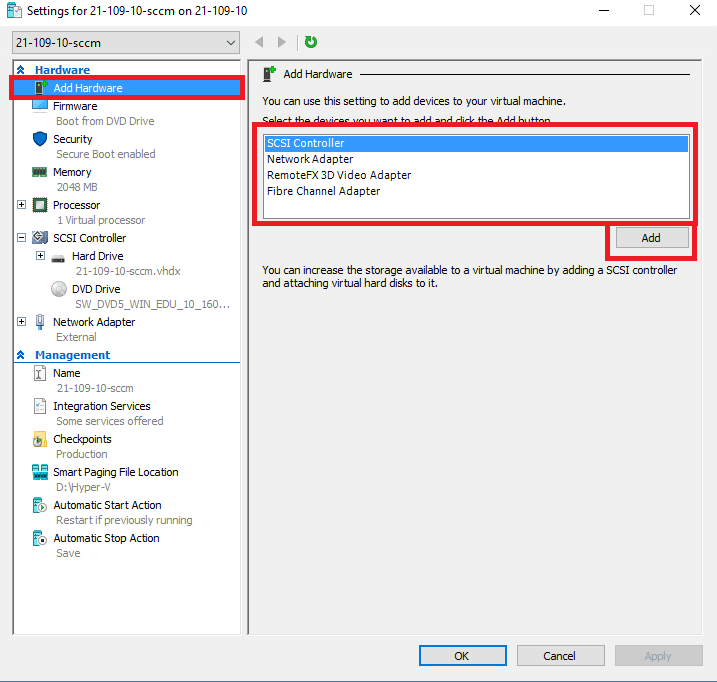
2. Add Hardware – you may add to your VM more Disks, Network Adapters, Video Adapter and Fibre Channel Adapter;
3. Firmware – select your boot device priority (default first “DVD Drive“. After System is installed on “Virtual Disk” – it’s becoming first boot device);

4. Security – new feature for control VM security in “Generation 2“. Read more at TechNet;

5. Memory – you control how much memory is use by VM, or enable “Dynamic Memory“, also control VM memory priorities;

6. Processor – control processors of your VM, as example you may increase or decrease quantity of “Virtual CPU” (vCPU);

7. Hard Drive (sub-option for SCSI Controller) – you may select “Virtual Disk” for your VM or use “Physical Disk“;

8. Quality of Service “QoS“(sup-option for “Hard Drive“) – you can control IOPS of your VM disks;

9. DVD Drive (sub-option for SCSI Controller) – connect *.iso images to your VM (or disconnect);

10. Network Adapter – select “Virtual Switch” for your VM, use vlan (“Enable virtual LAN identification“). And control bandwidth or your virtual network (“Enable bandwidth management“);

11. Advanced Features (sub-option for “Network Adapter“) – in this part very useful “MAC address” parameter – you can choose to use “Static” MAC Address for you VM “Virtual Switch“. Sometimes it’s very useful option.

Management
1. Start your Hyper-V Manager and click on “Settings“;
2. 이름 – rename your VM (only visible name in Hyper-V Manager) or add notes to the selected VM;

3. Integration Services – select or deselect services for your VM.
By default, “Guest Services” is disabled. The guest service allows you to copy files to a running VM without using a network connection. Connect to VM and drag and drop needed information.

4. Checkpoints – you can enable or disable of checkpoints creation. 또한, select for they destination folder;

5. Smart Paging File Location – select destination folder for smart paging file. It uses if VM need more memory (like page file in Windows);

6. Automatic Start Action – you can select what do with VM when hypervisor (your physical computer) starts;
Best Practices: If you have many VM – better choose “Always start this virtual machine automatically” and set “Startup delay” for each VM.

7. Automatic Stop Action – select what happen with VM when hypervisor shuts down or rebooting.


")


