So erstellen Sie ein selbstsigniertes Zertifikat für SCCM mit IIS. In diesem Beitrag, we create a self-signed certificate for importing to SCCM.
1. Log in to the SCCM server. Click the “Start” button and find in the Apps list “Internet Information Services (Iis)„, and run it;
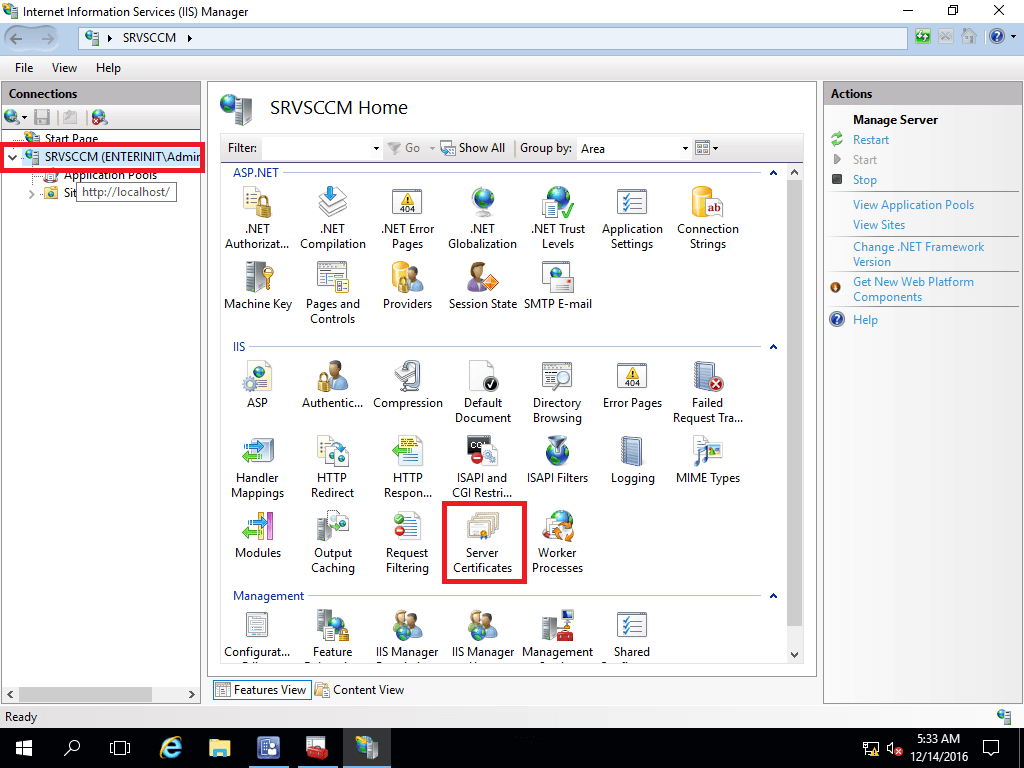
2. Select the server and click on “Serverzertifikate„;
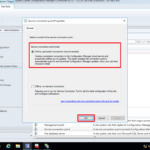
3. Next click “Create Self-Signed Certificate„;

4. Specify name (I use FQDN SCCM server name) and choose certificate store, click the “OK" Taste;

5. Next we need an export certificate for future import to SCCM. Klicken “Export„;
6. Choose the destination folder, and filename and click the “Offen" Taste;
7. Set the password for your certificate and click the “OK" Taste;


")


Großartig, nice and easy, but where do we import the cert. to to get it in use ?
Hi, use for SCCM as certificate in Distribution Point properties, Communication tab