Configuration Manager Discovery Methods Configuration Guide | Tutoriel étape par étape. Dans ce post, we config “Discovery Methods” in SCCM. "Discovery Methods” help you discover new computers and users in your infrastructure.
1. Commencez votre console SCCM et allez à "Administration";
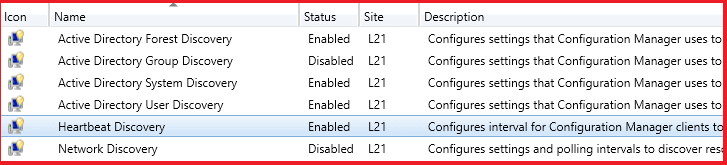
2. Allez sur «Overview\Hierarchy Configuration\Discovery Methods";
3. First config “Active Directory Forest Discovery".
4. Select and click the button “Propriétés” or click Bouton droit de la souris and select “Propriétés";
5. Set the checkmark “Enable Active Directory Forest Discovery“. If you wish to create boundaries by AD sites – set a checkmark. If you wish to create IP address range boundaries – set a checkmark. Schedule “Run time” and click the “D'ACCORD" bouton;
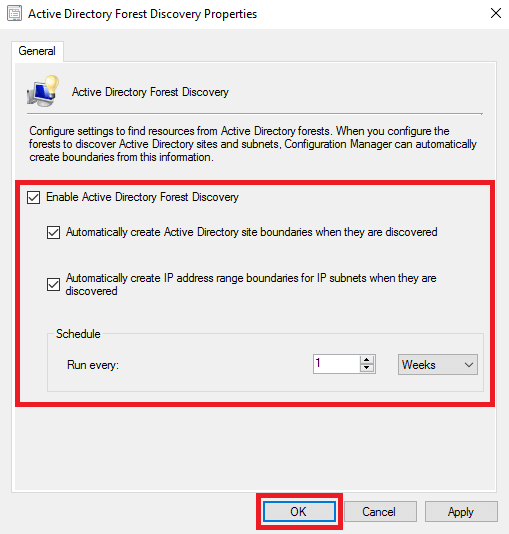
6. If you wish to start discovering now – click the “Oui” button in the pop-up window;
7. In my LAB and Enterprise deployment I don’t use “Active Directory Group Discovery", so I skip it;
8. Select and open properties (see step “4") pour "Active Directory System Discovery";
9. Set the checkmark “Enable Active Directory System Discovery“. Click on the button to add an AD container (voir capture d'écran);
10. Cliquez sur "Parcourir” button and select AD container for discovering. Aussi, you may select more options for searching. Après avoir sélectionné, cliquez sur «D'ACCORD" bouton;
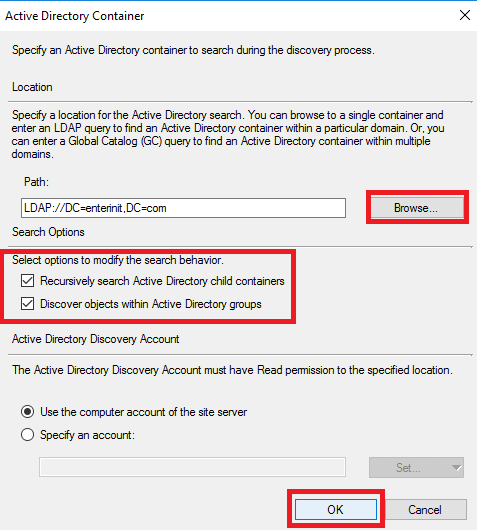
11. Ok, we add the AD container;
12. You can schedule “Complet" et "Delta” discovery in the “Polling Schedule” bookmark;
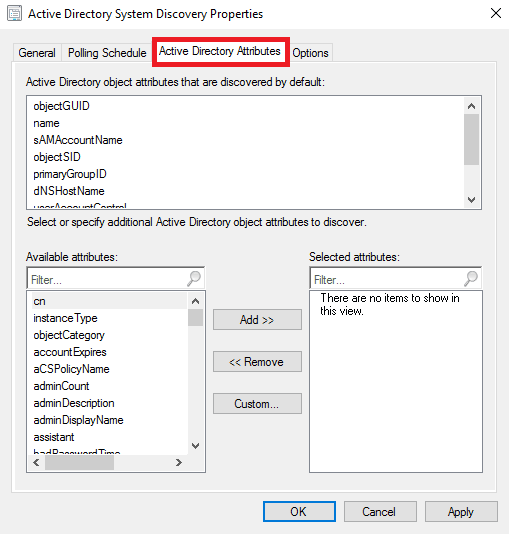
13. Aussi, you may add more attributes for importing to SCCM in the “Active Directory Attributes” bookmark;
14. And config excluded options in the “Options” bookmark. When you finish – click the “D'ACCORD" bouton;
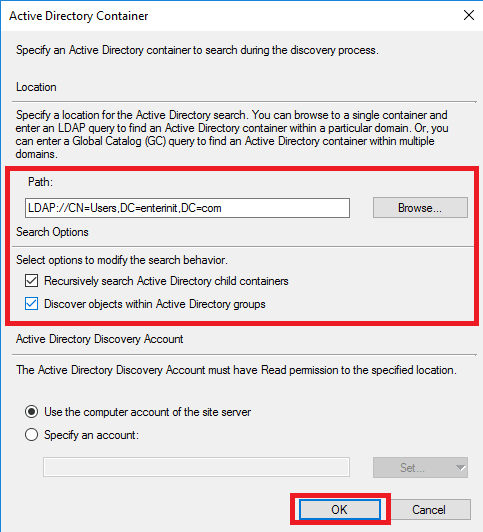
15. Select and open properties for “Active Directory User Discovery» (Bouton droit de la souris click and select “Propriétés" ou "Propriétés”Bouton dans le menu supérieur);
16. Set the checkmark “Enable Active Directory User Discovery” and add the AD container by clicking a button (voir capture d'écran);
17. Cliquez sur "Parcourir” button and select the AD container. Add search options and click the “D'ACCORD" bouton;
18. Open the “Polling Schedule” bookmark. Config scheduling for “Complet" et "Delta” discovering;
19. In the bookmark “Active Directory Attributes” you can add more attributes for importing to SCCM from AD. When finished click the “D'ACCORD" bouton;
20. In the pop-up window click the “Oui” button to run discovery as soon as possible;
21. I don’t use “Network Discovery", so I skip it;
22. Open “Heartbeat Discovery” properties;
23. Set checkmark “Enable Heartbeat Discovery” and config interval. When finished click the “D'ACCORD" bouton;

")


