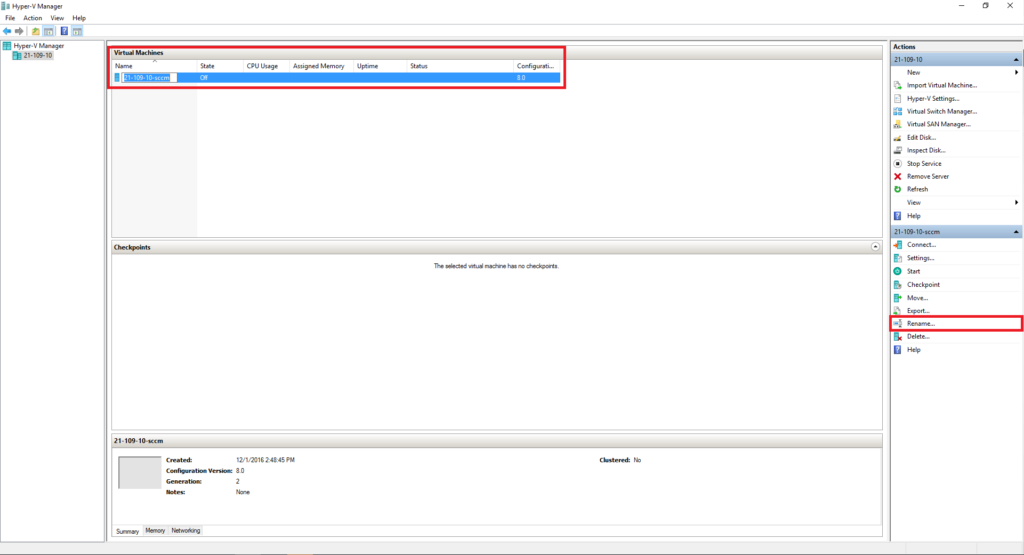
Actions with VM in 하이퍼-V 윈도우 10: A Guide to Managing Virtual Machines. Some useful info about what you can do with Virtual Machine (VM) ~에 하이퍼-V 관리자.
1. Import Virtual Machine – you may import to your 하이퍼-V early exported VM;
2. Edit Disk – edit selected 하이퍼-V Virtual Disk (as example);
3. Inspect Disk – show short information about selected 하이퍼-V Virtual Disk;
- Run your 하이퍼-V 관리자, click on “Inspect Disk“;

- Select your “Virtual Disk” and press “열려 있는“;

- Check the information and press “닫다“.

4. Connect – connect to selected Virtual Machine to work with it;
5. Setting – open VM settings;
6. 시작 – “Power-on” machine (if VM in “Off” state);
7. Checkpoint – create new checkpoint for VM;
8. Move – you can “Move” VM files and disks to another location;
9. Export – export VM for future import at another server;
Best Practices:
- Disconnect “Virtual Disk” from VM;
- Copy it to destination folder at another server;
- “Export” your VM;
- Go to another server and do “Import Virtual Machine“;
- Connect your early copied “Virtual Disk” and “시작” VM
10. Rename – rename the name of a VM in 하이퍼-V 관리자 (change only visible name, NOT folder or “Virtual Disk” name);
- Run your 하이퍼-V manager and select “Virtual Machine“;
- Click “Rename” and enter a new name;

- Press “입력하다” on your keyboard.
11. Delete – delete VM from 하이퍼-V manager and VMs configuration file (after that manually delete “Virtual Disk“);
12. Help – don’t need an introduction.


